Whether you do it yourself or get help from the professionals at Aqua-Blue, pool closing time signals the unofficial end of summer.
Weather has a great deal to do with the time you decide to close down your pool for the season. If it has been hot and the water is still warm, it’s tempting to keep it open during the first couple of weeks of September, so your family can still enjoy weekend swims. Now were into some colder temperatures and it is time to get things buttoned up for winter
Since it’s that time of year, the staff at Aqua-Blue thought we would go over the steps for winterizing a backyard pool – a refresher course of sorts. Winterizing helps protect your pool and its equipment from damage caused by extreme temperatures and winter’s snow and ice.
Whether you have an inground, or an aboveground pool, the first few steps are the same:
1. Ensure the water is chemically balanced. Adjust the alkalinity to about 125 ppm (parts per million), and the pH to 7.8.
2. Two days prior to closing, double-shock the water and run pump and filter as usual.
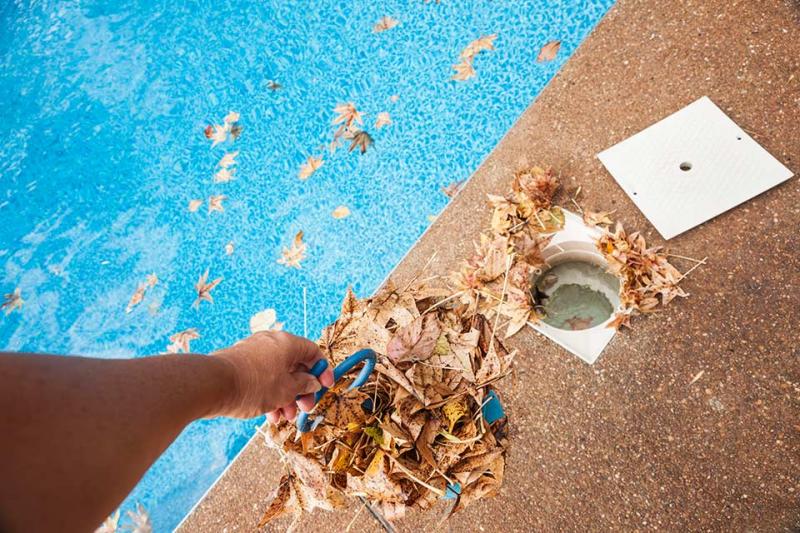
3. The day of closing, vacuum pool and backwash thoroughly.
4. Drain the pump and filter, following your manufacturer’s instructions (don’t forget the heater, chlorinator and salt generator, if they apply).
5. Remove ladders, drop-in steps and diving board. Dry thoroughly and store in a shed or garage.
6. Lower the water levels. For an aboveground pool, lower to just below return jets. For an inground pool, lower to four inches below the skimmer. Remove “eyeball” inserts from jets and all accessories from skimmer (basket, weir, etc.).
For an aboveground pool, the following instructions apply:
7. Winterize the light, if applicable, following manufacturer’s instructions.
8. Disconnect hoses at bottom of skimmer and return jet.
9. Add closing kit (will usually contain an algicide such as Algikill 600, Stain Prevent and Oxy-Pro) and Hivercide to the lowered water level.
10. Install the cover so it lies flat on the water and tight to the wall. Add a few inches of water to the top of the cover to prevent the wind from damaging it.
11. Store surplus chemicals in a cool, dry place.
For an inground pool, the following instructions apply:
7. Blow out the skimmer and return lines. Some people use a compressor, some people use a Shop-vac to do this.
8. Insert a foam rope into the return jets and plug tightly, using threaded plugs and teflon tape.
9. Insert a foam rope into the skimmer and plug using a “gizmo” that will allow for expansion caused by ice.
10. Add the closing kit ((will usually contain an algicide such as Algikill 600, Stain Prevent and Oxy-Pro) and Hivercide to the lowered water level.
11. Install the cover so that it lies flat on the water and tight to the wall.
12. If you are not installing a safety or locking cover, but a tarp cover with water bags, it is important to not overfill the water bags to allow for expansion.
13. Add a few inches of water to the top of the cover to prevent the wind from damaging it.
14. Store surplus chemicals in a cool, dry place.
No matter what kind of pool you have, autumn is a great time to clean your filter sand using IPG Filter Cleaner. This closing process seems complicated, but it’s really just mechanical safeguards and a little science! Above are only recommended basic guidlines, every pool is different. Failure to do things properly can result in plumbing lines freezing, liner floating ......leaving you wrinkles and/or other issues. If you prefer, Aqua-Blue is here to help: Book your inground or aboveground pool closing now, and our team of professionals will take of winterizing your summer paradise. To learn more about regular maintenance or Aqua-Blue’s services, give us a call at 905-735-9131, or visit us at our showroom at 633 King Street, Welland. Got a question? Send us an email via our contact page on our website, HERE